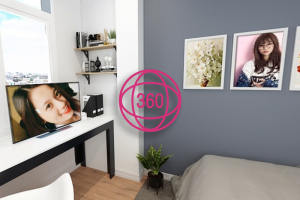
As a basic guide should not be very meticulous, but also to invite you to see the artwork.

First is the sample photo, you save the picture offline.

1. First you need to delete the header you want to change.
The easiest tool is the Spot Healing Brush Tool, but I recommend using the Clone Stamp for accuracy.
With Clone Stamp, hold Alt + Left mouse button to select the color area to copy then fill in the area to be replaced.
2. Cut the first part you want to join.
Go to File> Place to put your photo.
Use the quick select tool to select the headers, then press Q to go to the Standard Mode, and fill the red areas with the shortcut Alt + click to zoom in correctly. Then press Q again as you have selected your face already. Press Ctrl + J to duplicate the selection. Continue to press Ctrl + T to adjust the size, so hold Alt to keep the aspect ratio.
3. Coloring. Use the Curves and Levels tool to adjust the lightness and color of the light.
For a more in-depth look, check out the video tutorial.
Wish you success!


