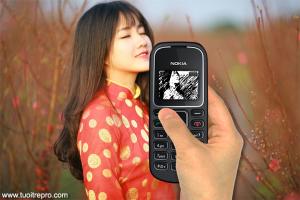
This article will guide you to graft the picture or logo, the text on the shirt looks real always.
There are also videos
Here is the PSD link, just download the double click on the logo layer and replace your image is okay.
https://app.box.com/s/zuxvp8miuq4wtdtqksfljb52ag34wcuz
Here I will use the image of the chicken back to the golden dragon chicken because it is very silly.
First open the photo and put your design on by clicking File> Place.
Press Ctr + T to adjust the image to fit inside the shirt.
If the image has a white background you delete the background using the Magic Eraser Tool, then click on the white area to delete.
Use the text tool to write the color you want, I choose yellow to match the chicken offline.
Right-click on the text layer and select Blending Options, and select Stroke with the Size: 2, Color: Black
Next you combine the chicken and text layers into a smart object by holding Ctrl + left mouse button on each layer and then right-clicking and selecting Convert to Smart Object.
Next we need to turn the print on this shirt has the same wrinkles as the shirt.
You hid the smart object layer, select the last duplicated layer by pressing Ctrl + J.
Convert it to black and white by going to Image> Adjustments> Black and White. Then blur a bit to Filter> Blur> Gaussion Blur Radius is set to 3. Save it back to a psd file somewhere for a little use.
Now hide that black and white layer and go to Filter> Distort> Displace, the Displace window shows up and you hit ok and select the psd file you just saved.
Then you apply the wrinkle effect to the logo then, now you can adjust the color to match with the shirt by adding a Curves Mask.
And here is the result,

Logo source: collectibles, model: timdeal.net


